.jpg)
This is a step-by-step tutorial on how to make a TARDIS wedding card box using simple supplies from your local craft store.
.jpg "AND_2840 - Materials and Tools")
Materials and Tools:
24 sheets of blue felt 9”x12”
Two large foam boards
One soft pencil for marking your measurements on the foam board and felt
Two bottles of wood glue
Clear packing tape
A sharp X-Acto knife
Sharp pair of scissors
A metal ruler
Sheet of cardstock paper 8.5” x 11”
Sheet of white paper 8.5” x 11”
Sheet of parchment paper 8.5” x 11”
Two sheets of translucent paper or plastic
One plastic medicine cup (like you get on top of a bottle of cough syrup)
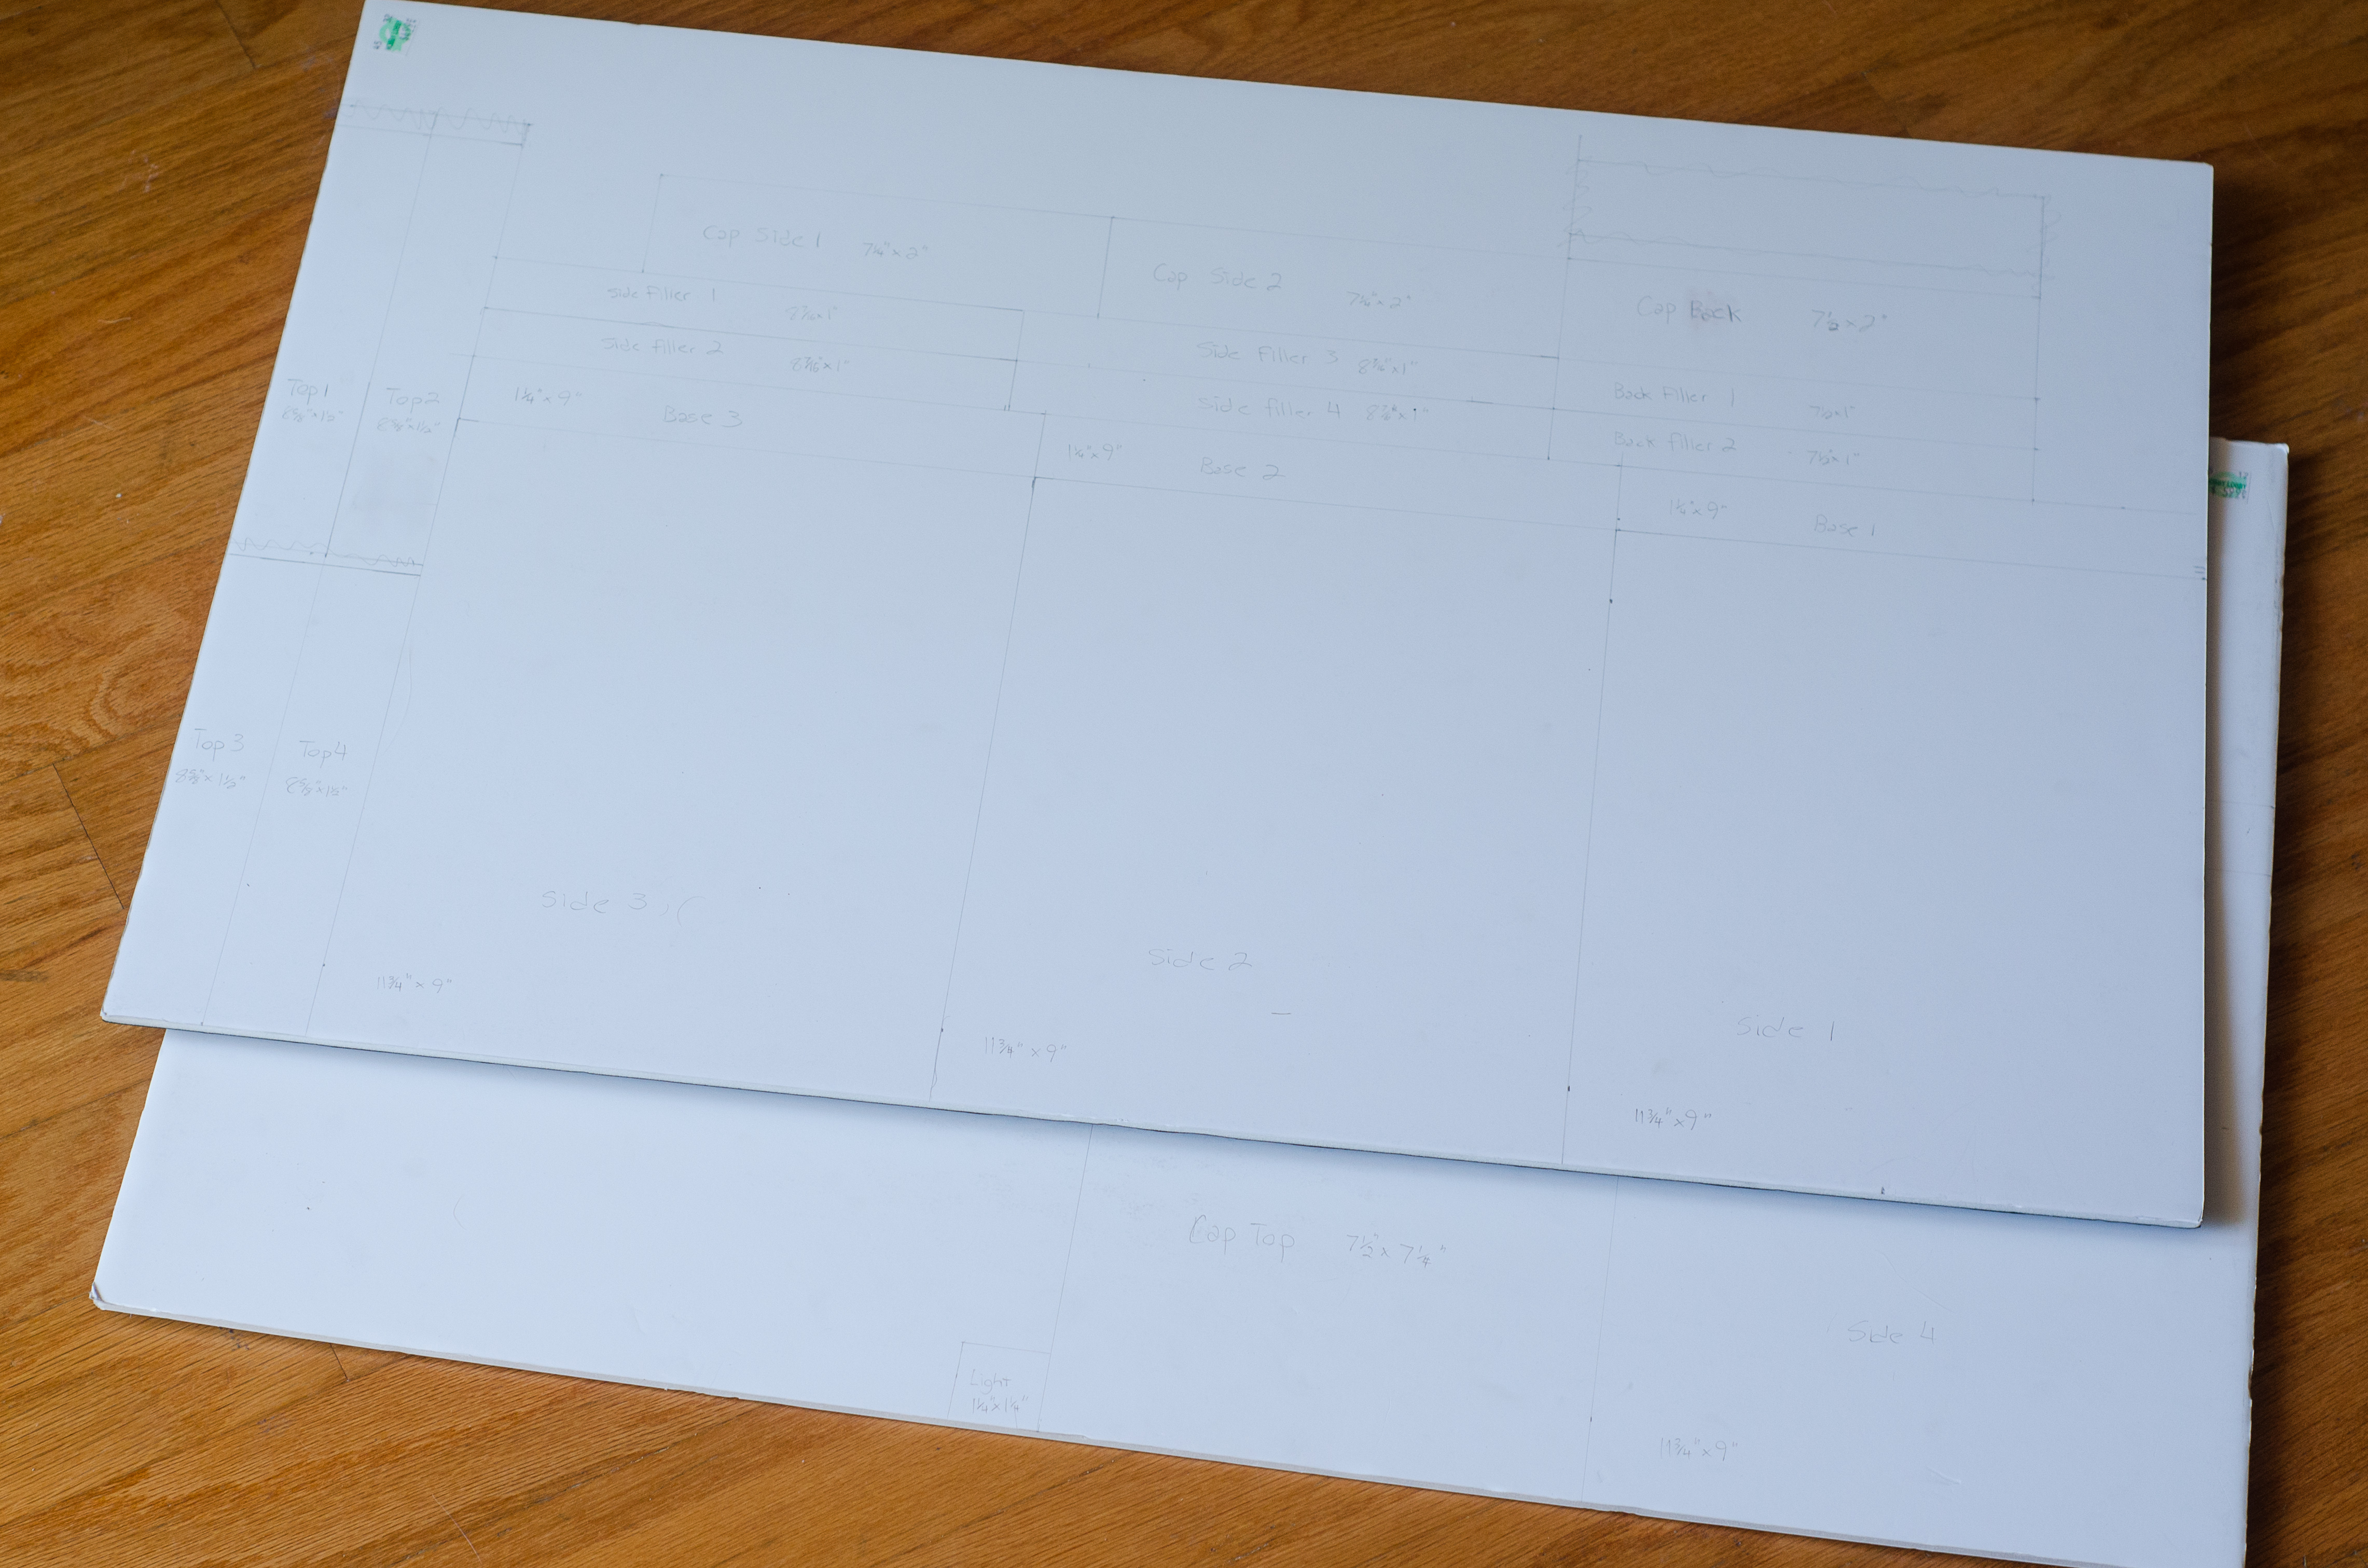
.jpg "AND_2842 - Foam Board Measurements")
Step 1) In pencil, measure out and draw the following pieces on the white side of the foam board.
4 Side pieces, 11 ¾” x 9″
4 Base pieces, 1 ¼” x 9”
4 Top pieces, 8 ⅝” x 1 ½”
4 Side filler pieces, 8 7/16 ” x 1”
2 Back filler pieces, 7 ½” x 1”
2 Cap Side pieces, 7 ¼” x 2”
1 Cap Back piece, 7 ½” x 2”
1 Cap Top piece, 7 ½” x 7 ¼”
1 Light Square, ½” wider than the diameter of your medicine cup
Here’s a high resolution image of the measurements
.jpg "AND_2845 - Foam Board Pieces")
Step 2) Measure Twice! Confirm all dimensions and pieces.
Step 3) Cut the pieces out using the X-Acto knife. Use the edge of a metal ruler to get a smooth cut.
.jpg "AND_2850 - Attaching the Top Pieces")
Step 4) Tape AND wood glue the four Side pieces together to create the body of the TARDIS. The edge of one piece should line up with the flat side of the next, and the edge of that piece should line up with the flat side of the next (so that you have square corners and equal length sides).
.jpg "AND_2850 - Attaching the Top Pieces")
Step 5) Wood glue the Top pieces to the inside of the constructed box so that they extend ¾” above the Side pieces. Because this is an inexact science, you might find in the next few steps that your pieces don’t quite fit. If they’re too big, shave them down a little, if they’re too short, cut a new piece to fit better.
.jpg "AND_2852 - Assembling the Body")
Step 6) Glue the Side Filler pieces and the Back Filler pieces even with the Top pieces.
.jpg "AND_2859 - Assembling the Cap")
Step 7) Wood glue the Cap Side and Cap Back pieces to the Cap top piece.
Step 8) Once dry, wood glue the Cap into the Body with 1” extending above the Top level.
.jpg "AND_2864 - Assembling the Base")
Step 9) Tape and wood glue the Base pieces together. (We’ll attach the Base to the Body after covering everything in felt.)
.jpg "AND_2866 - Stencil")
Step 10) Make a stencil for the doors and window of your TARDIS. Take a piece of cardstock (or even better tape two of them together) and cut eight 2” x 2” squares separated by ¾”. You can play with these dimensions if you like, but the squares must be centered on the paper horizontally and vertically. This should leave you about a third of an inch at the top and the bottom.
.jpg "AND_2875 - Cut the Windows")
Step 11) Line the stencil up with the bottom of a Side of the TARDIS body (the stencil will be shorter than the Side piece), making sure it’s centered horizontally. Outline the top two squares in pencil. Remove the stencil and use the X-Acto knife to cut out squares at least ¼” larger than the squares you have drawn. Do this for all four sides.
.jpg "AND_2879 - Preparing the Windows")
Step 12) Cut four pieces of the translucent pieces of paper or plastic (3” x 5”) and tape them over the holes. If you want to make the windows more opaque, you can double up extra layers.
.jpg "AND_2867 - Draw Squares on Felt")
Step 13) Using the stencil, on a felt sheet draw all eight squares and then carefully cut them out. Do this four times. Using the stencil, on a felt sheet draw only the top two squares and then carefully cut them out (for the windows). Do this four times.
.jpg "AND_2882 - Glue Felt to Sides")
Step 14) Glue the eight-square felt sheet on top of the two-square felt sheet, lining up the top two squares. And then glue both sheets to a side of the TARDIS box, lining up the top two squares with the transparent windows. Do this for all four sides.
.jpg "AND_2890 - Glue Center Strip")
Step 15) Cut four strips of felt ¼” wide and the length of a sheet. Glue each strip straight down the middle of the TARDIS sides (between the two columns of squares).
.jpg "AND_2896 - Glue Corner Strips")
Step 16) Cut four strips of felt 3” wide and the length of a sheet. Glue each strip over the corners of the TARDIS box. Cut four strips of felt 2” wide and the length of a sheet. Glue each strip over the wider strip that you just applied to the corners.
.jpg "AND_2899 - Glue Top Strip")
Step 17) Measure the distance between the wider corner strips along the top of the side (it should be about 6.5”). Cut a strip to that width and ½” tall and glue it along the top edge of the side. Do this for all four sides.
.jpg "AND_3503 - Top Level Felt Piece")
Step 18) Cover the Top and Cap in felt, measuring dimensions (this is not an exact science and results may vary) and doing your best to cut pieces to fit in such a way as to have as few seams as possible and to completely cover the foam board.
.jpg "AND_3507 - Top Level Back Felt Piece")
.jpg "AND_3508 - Cover the Cap in Felt")
.jpg "AND_3502 - Second Level Front Felt Piece")
I use six or seven strips of felt to completely cover the top level, the back of the top level, the front opening on the second level down, the sides of the second level, the back of the second level, and then four tiny strips along the top of the body. Around the opening of the card box, try to wrap the felt inside at least ½” so we don’t see any foam board edges.
.jpg "AND_2884 - Cover the Base in Felt")
Step 19) Cut four strips of felt 10.25” by 3” and cover the base in overlapping strips. Center the felt-covered TARDIS on top of the Base and glue the crap out of it.
.jpg "AND_4144 - Making the Light")
Step 20) Cover the foam Light Square with felt. Glue the medicine cup upside down to the Light Square (you might want to trim your medicine cup to your preferred size). Cover the top of the medicine cup in a circle of blue felt. cut thin strips of felt and glue them around the cup as seen in the image.
.jpg)
Step 21) Cut eight strips of felt 8.25” by 1”. Glue one on top of another so that you have four thick pieces. Glue each piece to the top of each side of the TARDIS.
.jpg)
Step 22) On thick card stock, print four “POLICE PUBLIC CALL BOX” signs. Dimensions are ¾” by 7.5” font is Gill Sans, white text on black background. You can make your own or use this high resolution image. Glue the signs to the center of the felt pieces that you just applied.
.jpg)
Step 23) On parchment paper, print the door sign at 1.5” by 2” using the image below. Glue the sign to the second square down on the left of the front of the TARDIS (the side with the top opening).
.jpg "TARDIS Door Sign by Tibots")
.jpg)
Enjoy your TARDIS card box!
PS: If you just want to buy a TARDIS, Amazon has some cool options. Like a cookie holder.

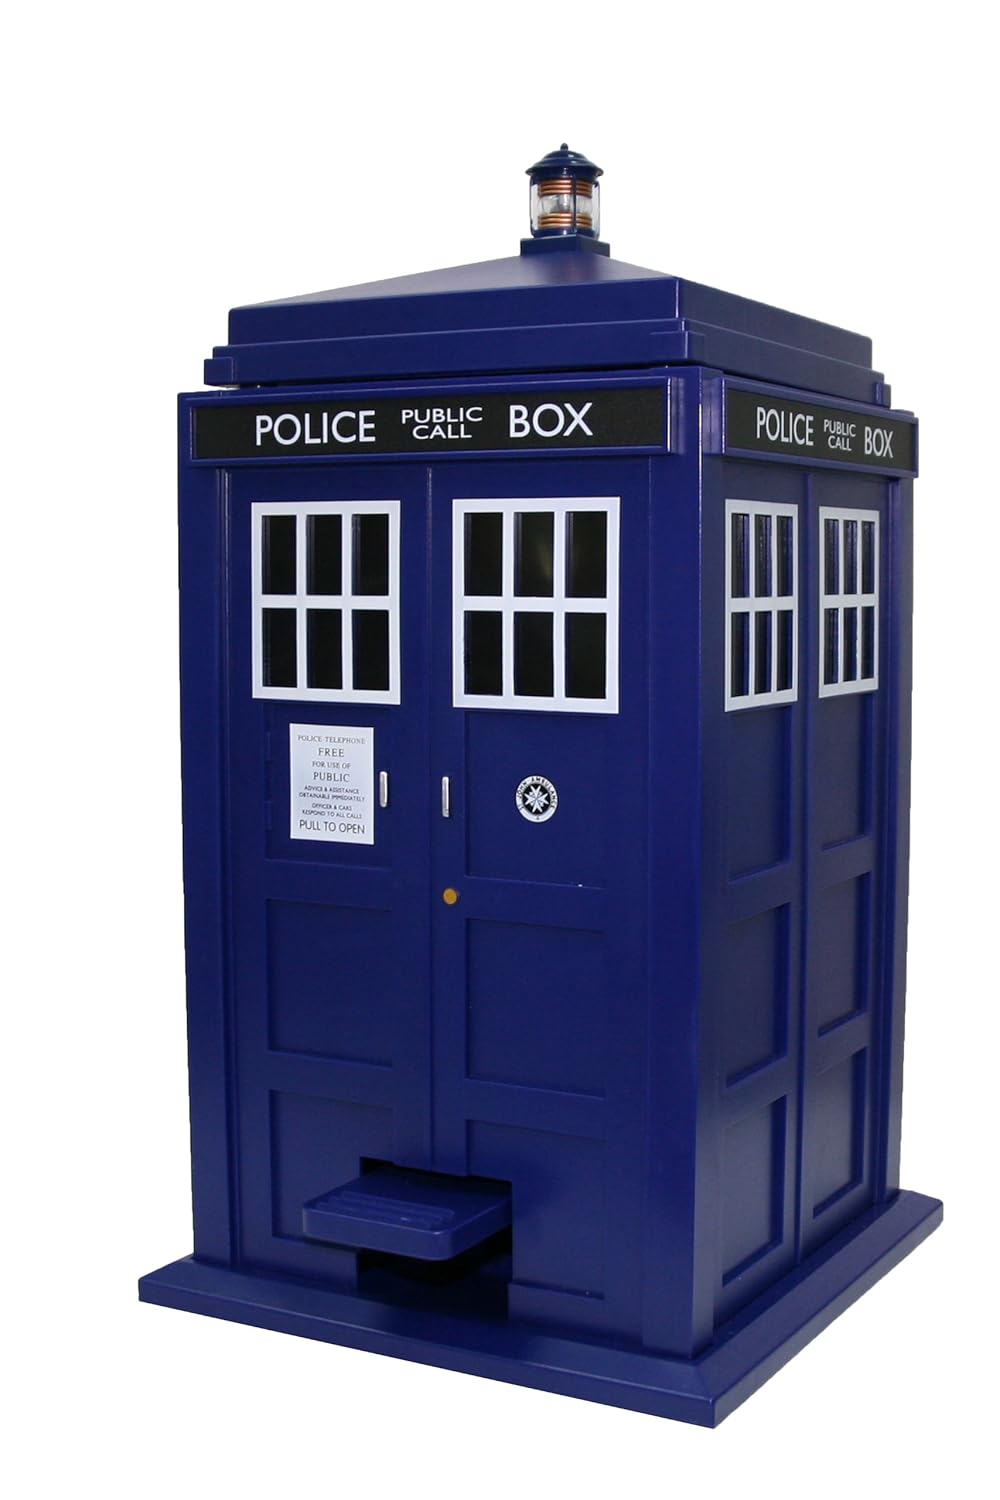
And this is a TARDIS wastebasket that makes a sound and lights up:
Other cool Doctor Who stuff:
Doctor Who Silicone Ice Tray and Chocolate Mold – TARDIS and Daleks Themed Mold Tray
TARDIS gelatin mold set (It’s vodka-rer on the inside?):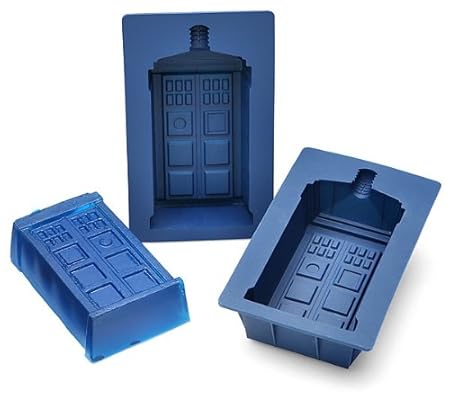
And a TARDIS shower curtain. Who doesn’t want a bigger bath on the inside?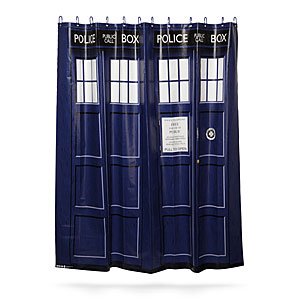
Note: the links above are amazon affiliate links, I get a small % kickback if you purchase using those links. Thanks for supporting my tiny piece of the internet!
Elissa - I could totally see a million Dr. Who fans bookmarking this for future reference! 🙂
Savannah - I made one and it came out amazing! I used hot glue for everything and it worked really well.
whovian - you should try a diy tardis bank
Asha Mangul - Hi Nadine, I just wanted to ask how thick the foamboard for the Tardis card box is, as there are a few different thicknesses online! Also, would two A3 sized boards be enough?
Thanks in advance!
Asha
ripresa - About 1/4 inch thickness? Two of the big boards should be enough.